Bootstrap and Webpack
The official guide for how to include and bundle Bootstrap’s CSS and JavaScript in your project using Webpack.

Setup
We’re building a Webpack project with Bootstrap from scratch, so there are some prerequisites and up front steps before we can really get started. This guide requires you to have Node.js installed and some familiarity with the terminal.
-
Create a project folder and setup npm. We’ll create the
my-projectfolder and initialize npm with the-yargument to avoid it asking us all the interactive questions.mkdir my-project && cd my-project npm init -y -
Install Webpack. Next we need to install our Webpack development dependencies:
webpackfor the core of Webpack,webpack-cliso we can run Webpack commands from the terminal, andwebpack-dev-serverso we can run a local development server. We use--save-devto signal that these dependencies are only for development use and not for production.npm i --save-dev webpack webpack-cli webpack-dev-server -
Install Bootstrap. Now we can install Bootstrap. We’ll also install Popper since our dropdowns, popovers, and tooltips depend on it for their positioning. If you don’t plan on using those components, you can omit Popper here.
npm i --save bootstrap @popperjs/core -
Install additional dependencies. In addition to Webpack and Bootstrap, we need a few more dependencies to properly import and bundle Bootstrap’s CSS and JS with Webpack. These include Sass, some loaders, and Autoprefixer.
npm i --save-dev autoprefixer css-loader postcss-loader sass sass-loader style-loader
Now that we have all the necessary dependencies installed, we can get to work creating the project files and importing Bootstrap.
Project structure
We’ve already created the my-project folder and initialized npm. Now we’ll also create our src and dist folders to round out the project structure. Run the following from my-project, or manually create the folder and file structure shown below.
mkdir {dist,src,src/js,src/scss}
touch dist/index.html src/js/main.js src/scss/styles.scss webpack.config.js
When you’re done, your complete project should look like this:
my-project/
├── dist/
│   └── index.html
├── src/
│   ├── js/
│   │   └── main.js
│   └── scss/
│       └── styles.scss
├── package-lock.json
├── package.json
└── webpack.config.js
At this point, everything is in the right place, but Webpack won’t work because we haven’t filled in our webpack.config.js yet.
Configure Webpack
With dependencies installed and our project folder ready for us to start coding, we can now configure Webpack and run our project locally.
-
Open
webpack.config.jsin your editor. Since it’s blank, we’ll need to add some boilerplate config to it so we can start our server. This part of the config tells Webpack where to look for our project’s JavaScript, where to output the compiled code to (dist), and how the development server should behave (pulling from thedistfolder with hot reload).const path = require('path') module.exports = { mode: 'development', entry: './src/js/main.js', output: { filename: 'main.js', path: path.resolve(__dirname, 'dist') }, devServer: { static: path.resolve(__dirname, 'dist'), port: 8080, hot: true } } -
Next we fill in our
dist/index.html. This is the HTML page Webpack will load in the browser to utilize the bundled CSS and JS we’ll add to it in later steps. Before we can do that, we have to give it something to render and include theoutputJS from the previous step.<!doctype html> <html lang="en"> <head> <meta charset="utf-8"> <meta name="viewport" content="width=device-width, initial-scale=1"> <title>Bootstrap w/ Webpack</title> </head> <body> <div class="container py-4 px-3 mx-auto"> <h1>Hello, Bootstrap and Webpack!</h1> <button class="btn btn-primary">Primary button</button> </div> <script src="./main.js"></script> </body> </html>We’re including a little bit of Bootstrap styling here with the
div class="container"and<button>so that we see when Bootstrap’s CSS is loaded by Webpack. -
Now we need an npm script to run Webpack. Open
package.jsonand add thestartscript shown below (you should already have the test script). We’ll use this script to start our local Webpack dev server. You can also add abuildscript shown below to build your project.{ // ... "scripts": { "start": "webpack serve", "build": "webpack build", "test": "echo \"Error: no test specified\" && exit 1" }, // ... } -
And finally, we can start Webpack. From the
my-projectfolder in your terminal, run that newly added npm script:npm start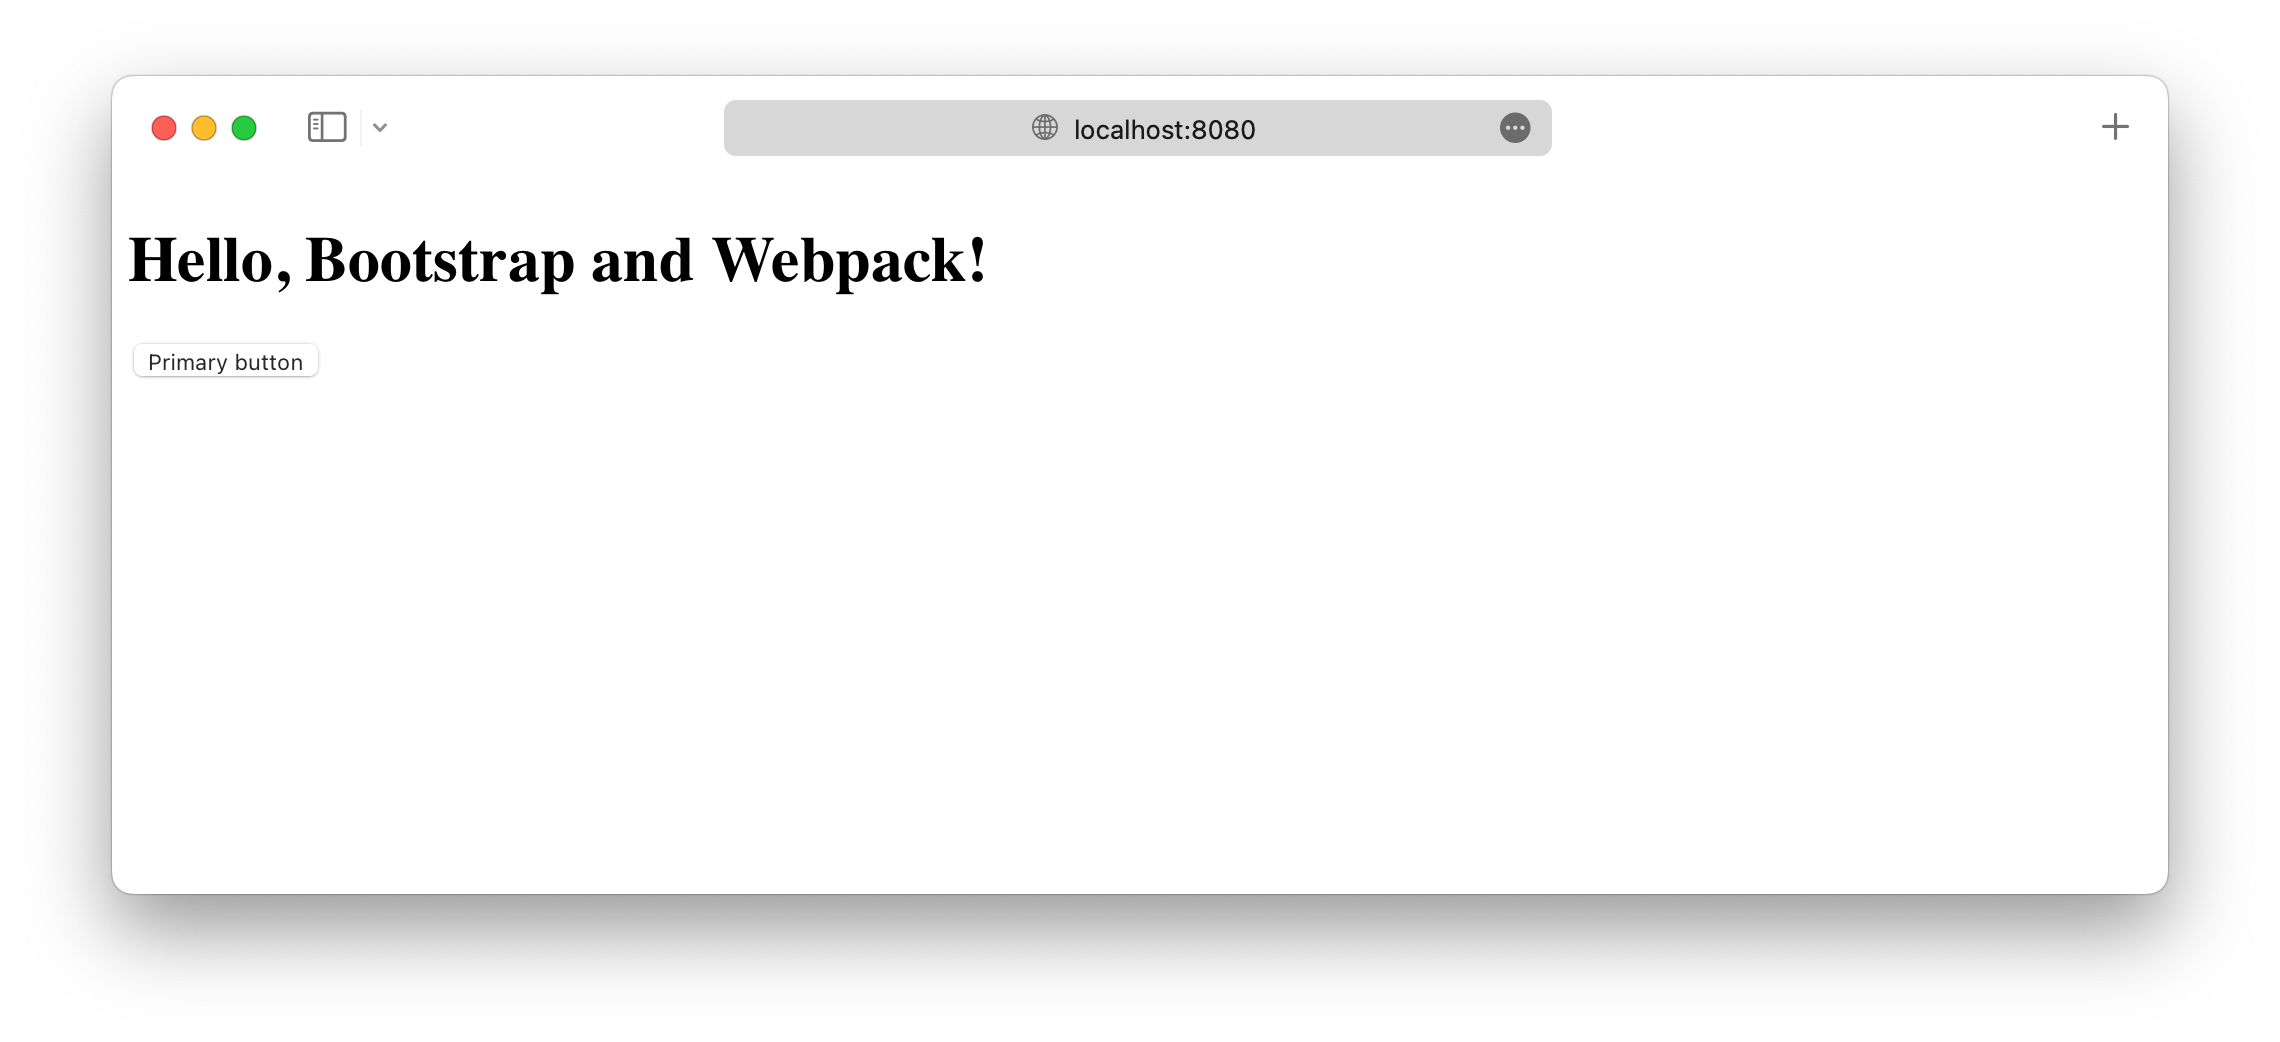
In the next and final section to this guide, we’ll set up the Webpack loaders and import all of Bootstrap’s CSS and JavaScript.
Import Bootstrap
Importing Bootstrap into Webpack requires the loaders we installed in the first section. We’ve installed them with npm, but now Webpack needs to be configured to use them.
-
Set up the loaders in
webpack.config.js. Your configuration file is now complete and should match the snippet below. The only new part here is themodulesection.const path = require('path') module.exports = { mode: 'development', entry: './src/js/main.js', output: { filename: 'main.js', path: path.resolve(__dirname, 'dist') }, devServer: { static: path.resolve(__dirname, 'dist'), port: 8080, hot: true }, module: { rules: [ { test: /\.(scss)$/, use: [ { // Adds CSS to the DOM by injecting a `<style>` tag loader: 'style-loader' }, { // Interprets `@import` and `url()` like `import/require()` and will resolve them loader: 'css-loader' }, { // Loader for webpack to process CSS with PostCSS loader: 'postcss-loader', options: { postcssOptions: { plugins: () => [ require('autoprefixer') ] } } }, { // Loads a SASS/SCSS file and compiles it to CSS loader: 'sass-loader' } ] } ] } }Here’s a recap of why we need all these loaders.
style-loaderinjects the CSS into a<style>element in the<head>of the HTML page,css-loaderhelps with using@importandurl(),postcss-loaderis required for Autoprefixer, andsass-loaderallows us to use Sass. -
Now, let’s import Bootstrap’s CSS. Add the following to
src/scss/styles.scssto import all of Bootstrap’s source Sass.// Import all of Bootstrap's CSS @import "~bootstrap/scss/bootstrap";You can also import our stylesheets individually if you want. Read our Sass import docs for details.
-
Next we load the CSS and import Bootstrap’s JavaScript. Add the following to
src/js/main.jsto load the CSS and import all of Bootstrap’s JS. Popper will be imported automatically through Bootstrap.// Import our custom CSS import '../scss/styles.scss' // Import all of Bootstrap's JS import * as bootstrap from 'bootstrap'You can also import JavaScript plugins individually as needed to keep bundle sizes down:
import Alert from 'bootstrap/js/dist/alert'

// or, specify which plugins you need:
import { Tooltip, Toast, Popover } from 'bootstrap'
Read our JavaScript docs for more information on how to use Bootstrap’s plugins.
-
And you’re done! 🎉 With Bootstrap’s source Sass and JS fully loaded, your local development server should now look like this.
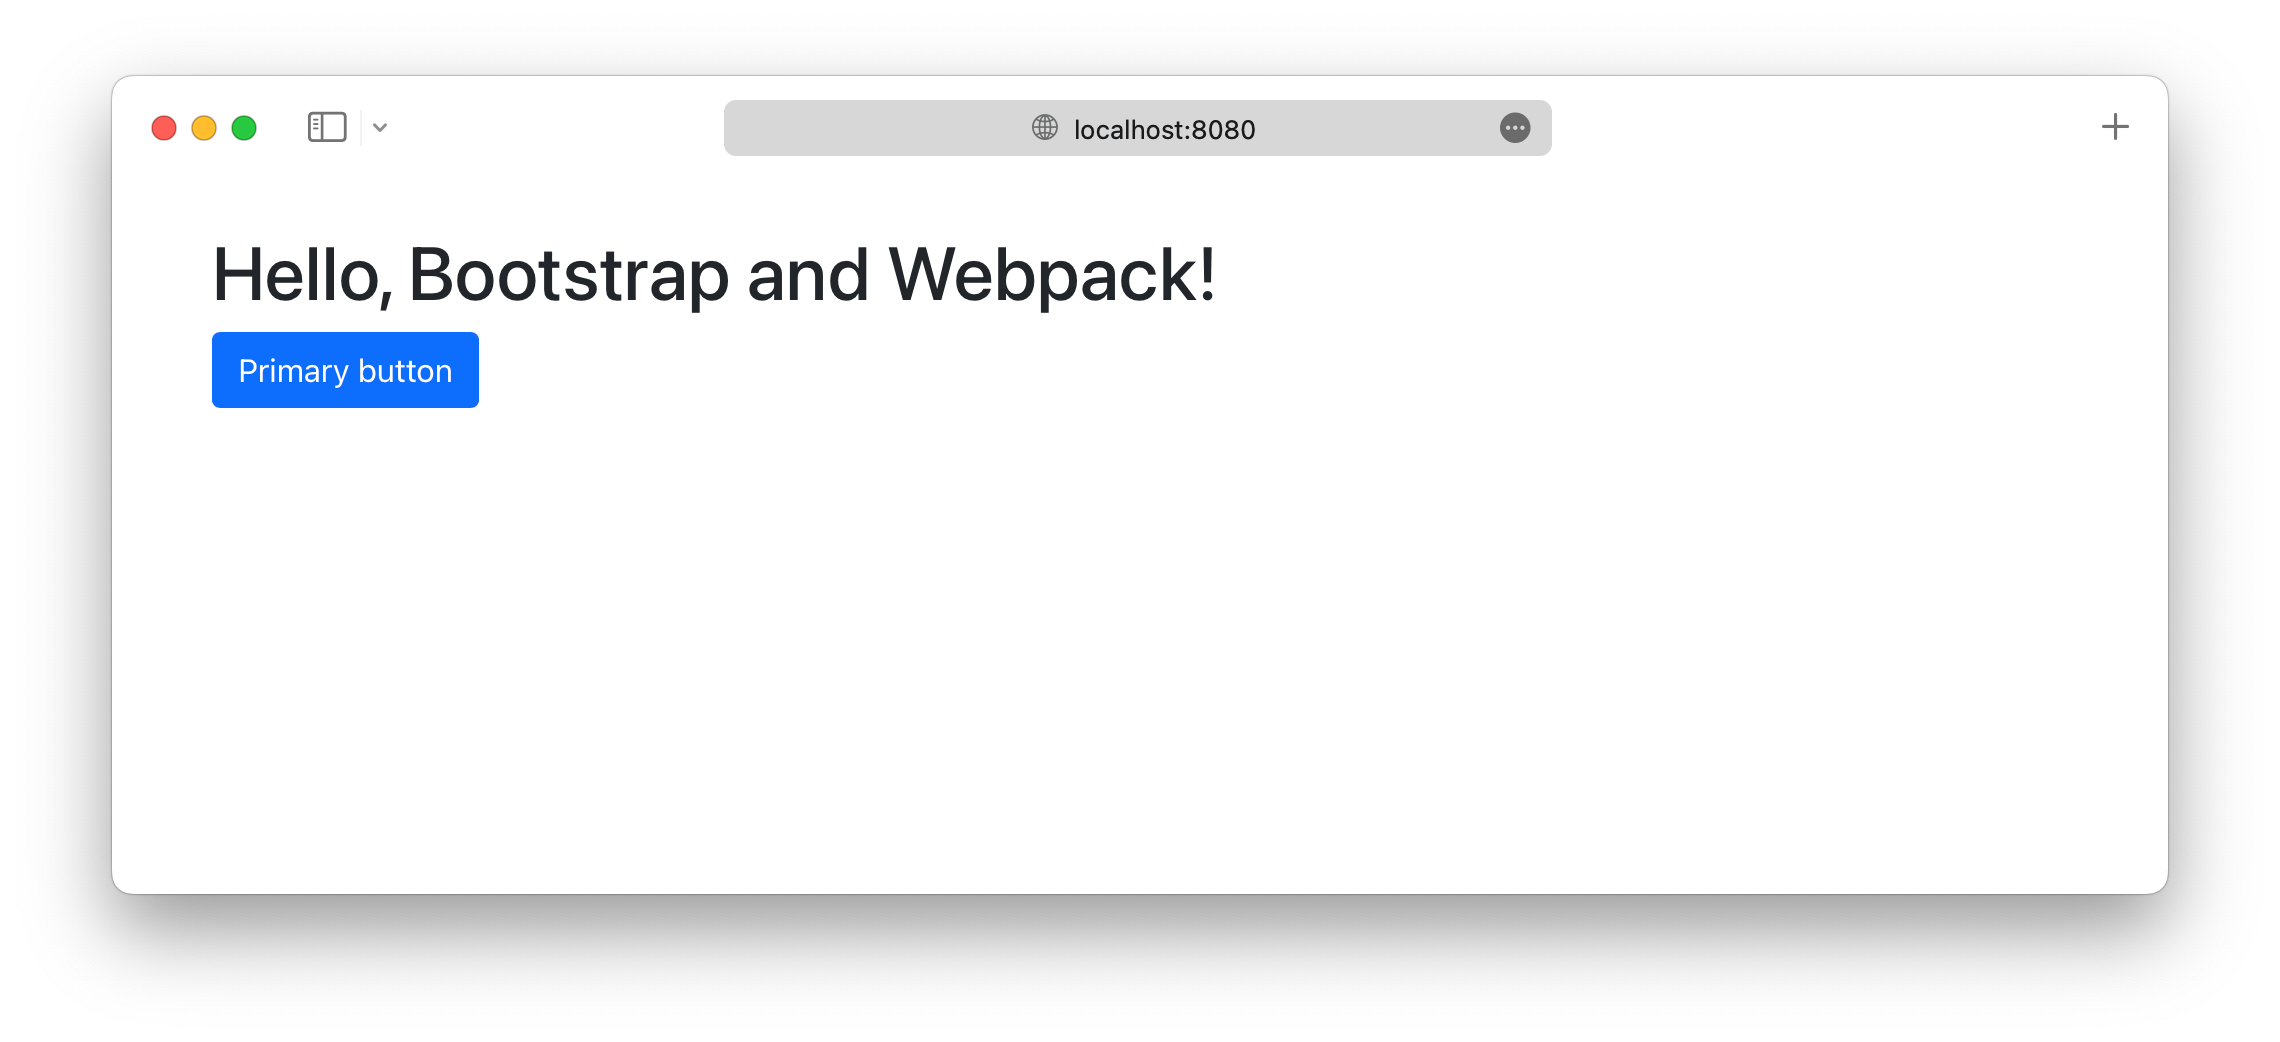
Now you can start adding any Bootstrap components you want to use. Be sure to check out the complete Webpack example project for how to include additional custom Sass and optimize your build by importing only the parts of Bootstrap’s CSS and JS that you need.
Production optimizations
Depending on your setup, you may want to implement some additional security and speed optimizations useful for running the project in production. Note that these optimizations are not applied on the Webpack example project and are up to you to implement.
Extracting CSS
The style-loader we configured above conveniently emits CSS into the bundle so that manually loading a CSS file in dist/index.html isn’t necessary. This approach may not work with a strict Content Security Policy, however, and it may become a bottleneck in your application due to the large bundle size.
To separate the CSS so that we can load it directly from dist/index.html, use the mini-css-extract-loader Webpack plugin.
First, install the plugin:
npm install --save-dev mini-css-extract-plugin
Then instantiate and use the plugin in the Webpack configuration:
--- a/webpack/webpack.config.js
+++ b/webpack/webpack.config.js
@@ -1,8 +1,10 @@
+const miniCssExtractPlugin = require('mini-css-extract-plugin')
 const path = require('path')

 module.exports = {
   mode: 'development',
   entry: './src/js/main.js',
+  plugins: [new miniCssExtractPlugin()],
   output: {
     filename: "main.js",
     path: path.resolve(__dirname, "dist"),
@@ -18,8 +20,8 @@ module.exports = {
         test: /\.(scss)$/,
         use: [
           {
-            // Adds CSS to the DOM by injecting a `<style>` tag
-            loader: 'style-loader'
+            // Extracts CSS for each JS file that includes CSS
+            loader: miniCssExtractPlugin.loader
           },
           {
After running npm run build again, there will be a new file dist/main.css, which will contain all of the CSS imported by src/js/main.js. If you view dist/index.html in your browser now, the style will be missing, as it is now in dist/main.css. You can include the generated CSS in dist/index.html like this:
--- a/webpack/dist/index.html
+++ b/webpack/dist/index.html
@@ -3,6 +3,7 @@
   <head>
     <meta charset="utf-8">
     <meta name="viewport" content="width=device-width, initial-scale=1">
+    <link rel="stylesheet" href="./main.css">
     <title>Bootstrap w/ Webpack</title>
   </head>
   <body>
Extracting SVG files
Bootstrap’s CSS includes multiple references to SVG files via inline data: URIs. If you define a Content Security Policy for your project that blocks data: URIs for images, then these SVG files will not load. You can get around this problem by extracting the inline SVG files using Webpack’s asset modules feature.
Configure Webpack to extract inline SVG files like this:
--- a/webpack/webpack.config.js
+++ b/webpack/webpack.config.js
@@ -16,6 +16,14 @@ module.exports = {
   },
   module: {
     rules: [
+      {
+        mimetype: 'image/svg+xml',
+        scheme: 'data',
+        type: 'asset/resource',
+        generator: {
+          filename: 'icons/[hash].svg'
+        }
+      },
       {
         test: /\.(scss)$/,
         use: [
After running npm run build again, you’ll find the SVG files extracted into dist/icons and properly referenced from CSS.
See something wrong or out of date here? Please open an issue on GitHub. Need help troubleshooting? Search or start a discussion on GitHub.